Keeping your pack as light as possible while documenting your adventures can be a real challenge. But with the newer GoPro cameras, as unbelievable as it sounds, considering their size you can actually capture awesome cinematic footage by simply changing some settings and filming like the pros.
On a recent multi-day backpacking trip, I was determined to get nice footage, maybe even cinematic shots, with just my GoPro and a little help from my iPhone. I’ve gone on other trips where I used my Sony A7iii and I love my Sony, but taking it backpacking is more work to set up shots and I wanted to keep things simple and not slow the group down with my gear.
Settings
Before heading out spend a little time setting up your camera. the newer GoPros allows you to save your favorite setting for quick access. This is a great time saver when you’re on the trail. You won’t have to fiddle with waiting for the camera to turn on, or digging through the menu to find the best setting.
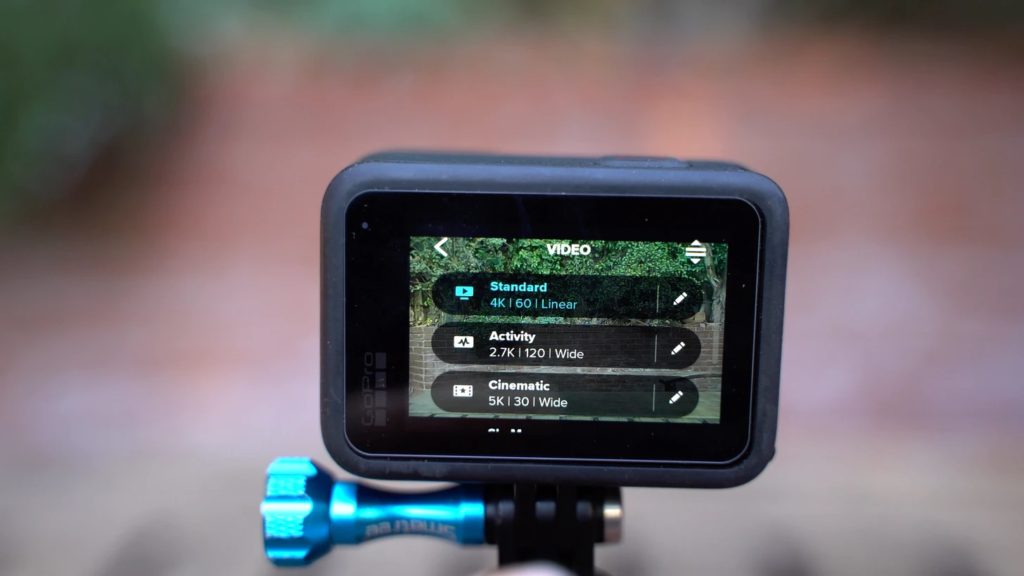
Capture Presets
Take the guesswork out of your settings and create up to 10 different capture Presets. I keep standard set to my trail favorites.
- 4K 60fps or 120fps
- Lens: Liner or Wide
- Color: Flat
- EV-Comp -.5
Using 60 or 120 frames gives me the option to slow my footage down in post, or keep it in realtime in a 30 fps timeline. I know it’s not the ‘cinematic’ 24 fps, but that’s up for discussion and multiples of 30 play better together.
Short Cuts
If you have the GoPro Hero 8 or newer you can add four shortcuts to the on-screen menu for quick change settings. The short cuts I generally use are Lens, EV COMP, white balance and Shutter.
EV Comp
If you are using the auto shutter on a bright sunny day, GoPro may blow out your image leaving you with a boring sky without fluffy clouds or details in the brighter part of the image. But if you set the EV comp to negative .5 or more you can save your sky and highlights and under expose your footage just a little bit. You can always lighten up your footage, but you can’t bring back detail that are not there.
Color Profile
Set it to flat to give yourself more flexibility to edit in post production. If you use flat or natural color you’ll can bring back the detail and color. GoPro color is very rich, and over-saturated and isn’t as easy to edit.
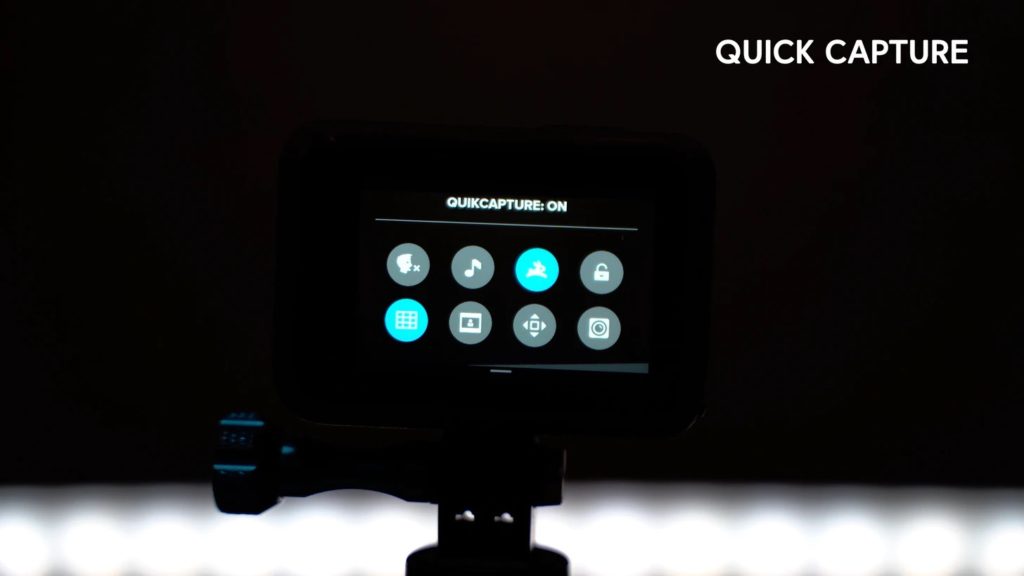
Quick Capture
This should always be on, it’s a no brainer. If you haven’t set it, it’s on the main screen when you swipe down. It’s the one with the bunny. When you press the record button at the top of the camera when the camera is off, it will turn on a begin capturing video within 3 seconds. When you are ready to stop filming simply press the record button again and the camera will stop recording and turn back off.
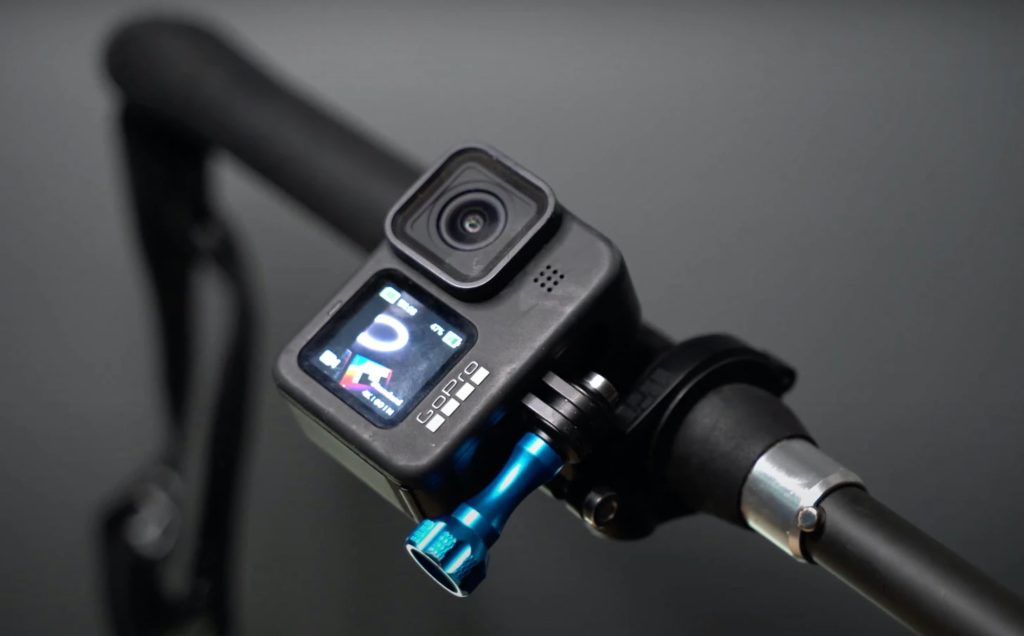
Mounts
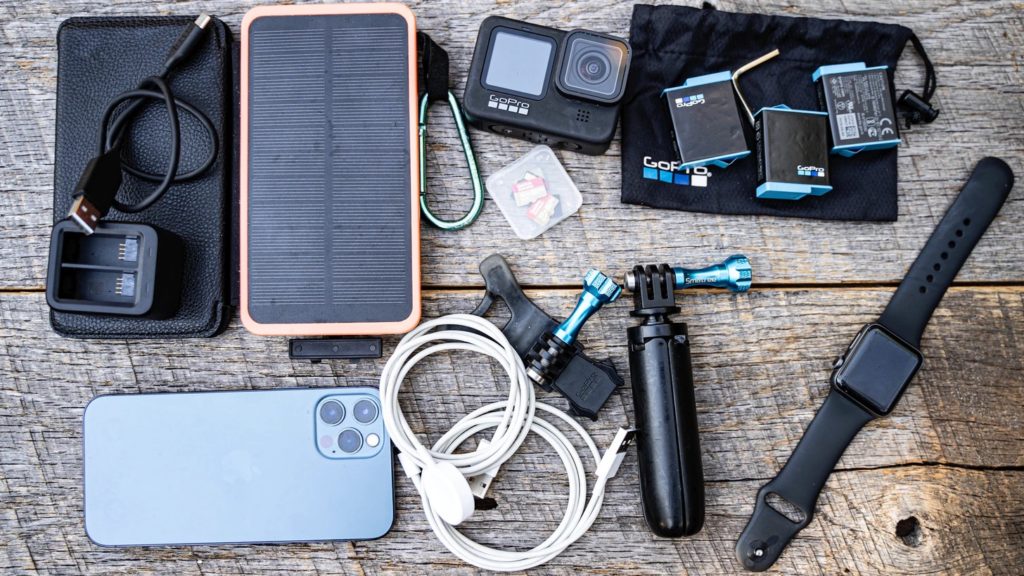
When you’re on the trail having the camera within reach is ideal, and what better place than to mount it to your hiking pole? I used the GoPro pole mount and set it up before heading out. The one I have requires an allen wrench to adjust it, so I did have to pack one, but they are light. The best thing about having the camera on the hiking pole is it doubles as a selfie stick, and a monopod.
Also bring a small lightweight tripod. One of my favorites is the GoPro Shorty, but there are so many versions out there, and if you can add a phone mount, to it, even better.
Shot List and Shot Sequences
Having a plan of what you want to capture before heading out will help when you sit down to edit. A little pre-planning will go a long way. Of course you want to show the beauty of the location, but also remember to capture the details to help tell the story. Setting up camp, making dinner, details on the trail, like raindrops in the water or flowers you walk past.
You can also turn the individual shot list into a shot sequence, Think about capturing multiple shots of the same event or scene. Get an establishing shot to show where you’re at and give context to the scene. This could be a wide shot on a tripod. Film one or two medium shots that show what is happening in the scene and one or two close up shots from different angles to help tell the story. If it makes sense, add a point-of-view shot or something unexpected.
Match Cuts
In camera Transitions
These so easy to do. You can pan from behind someone or something to reveal your scene or pan up from your moving feet to show the trail. If you want to show movement, do a whip pans where you quickly turn the camera to create a rotating blurred transition.
Sounds and Music
Remember to capture ambient sounds while you’re on the trail of the water, wind, feet walking whatever you think of, all without talking.
You’ll also want to add music that fits the mood of your film. There are several services that you can pick from Musicbed.com, EpidemicSound.com, Artlist.io just to name a few.
Hopefully these tips will help get you started and on the way to more cinematic travel and trail films. See you out on the trails!
– Jan